
 |
| The skull from the front... |
 |
| ...and from the side |
I used paper pulp to build up the jaw. Human jaws have vertical ridges where the roots of the teeth are, so I've made my teeth with roots which will produce those ridges and also make sure the teeth are stuck firmly in place. This is quite important, because the teeth will hold some of the skull's weight.
 |
| Close up of the teeth |
You can see in the close up that a couple of the teeth are slightly crooked. That's intentional. In nature you very rarely see perfectly straight teeth without some kind of orthodontic intervention.
Finally, I turn the skull upside down to add the palate and details of the base of the skull. In the base of all skulls is a hole called the foramen magnum, where the spinal cord enters the brain. You'd naturally have to block this up to make a chalice, or your beverage would drain out, so I'll be making this foramen magnum look like it's blocked with a piece of leather or some such. The base of a skull is quite detailed, but it's not hard to do and this is an area where you could take shortcuts, since you won't see it when the skull is right way up. As you can see from the pictures, I did take shortcuts here.
 |
| Starting the base of the skull |
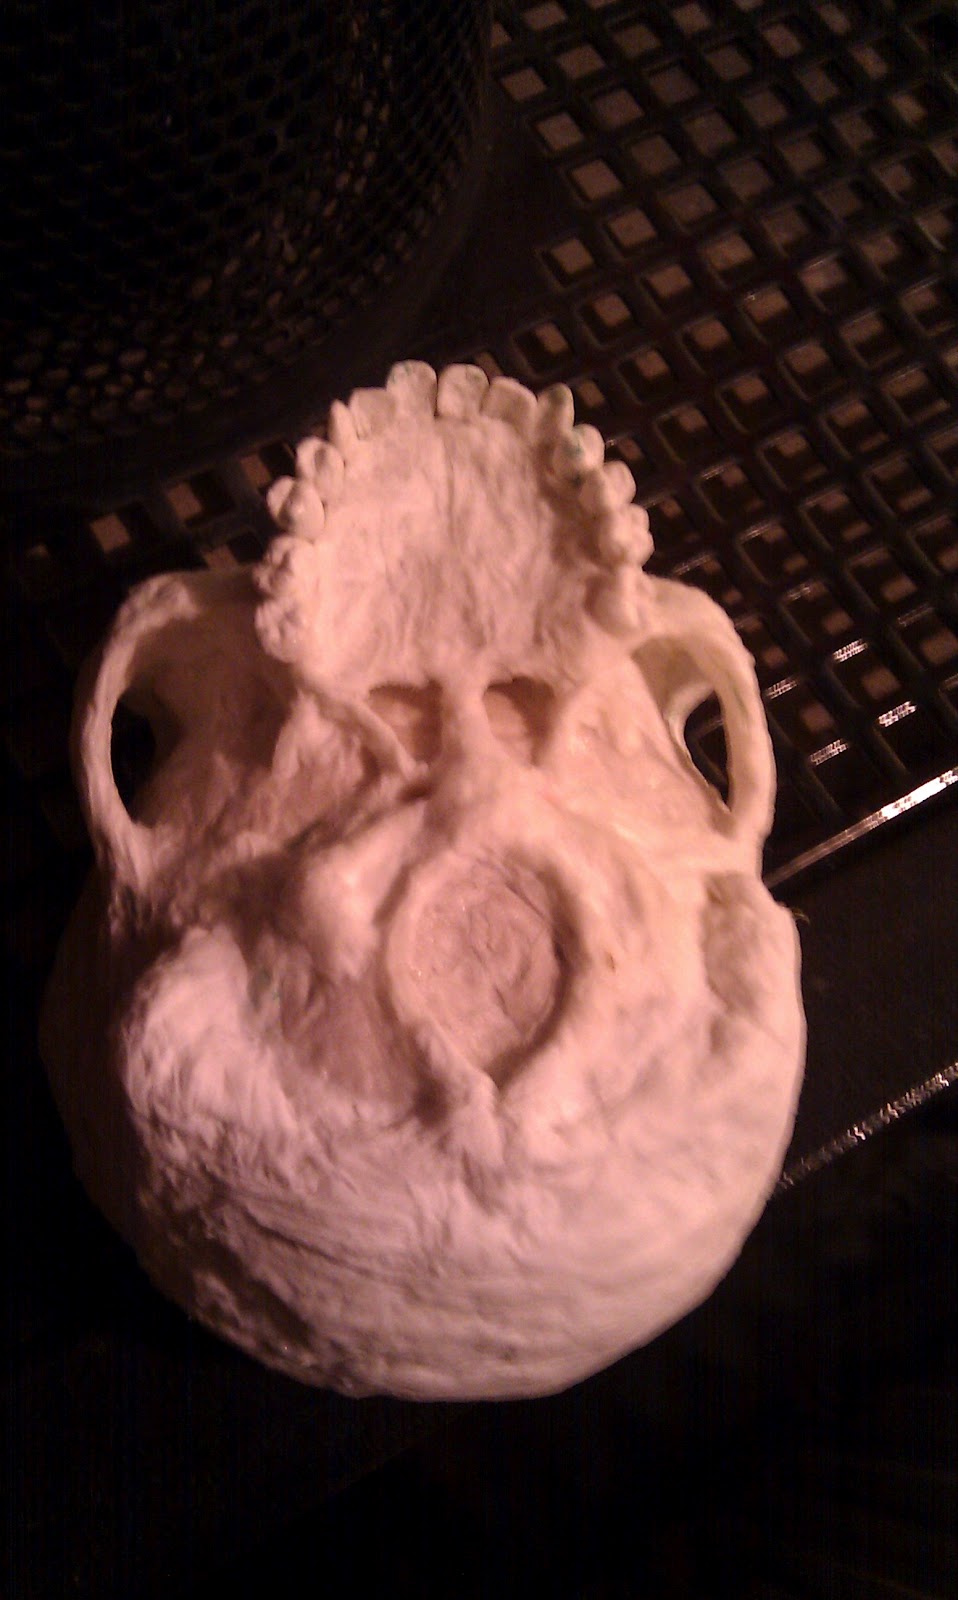 |
| The finished base - not quite as detailed as a real one |
Once it's dry I'll give it a going over with some sandpaper. It'll probably take a couple of days to dry properly, after which I'll paint it and seal it. Which reminds me - it's time for me to go chase up the couriers to find out where my sealant has got to. Again. Little heads-up for my New Zealand readers: if you're thinking of using PBT Couriers you may want to re-think that idea, assuming you'd like your package to actually reach its destination.
UPDATE: My sealant has now arrived safe and sound. Thank you PBT.
UPDATE: My sealant has now arrived safe and sound. Thank you PBT.
Comments
Post a Comment